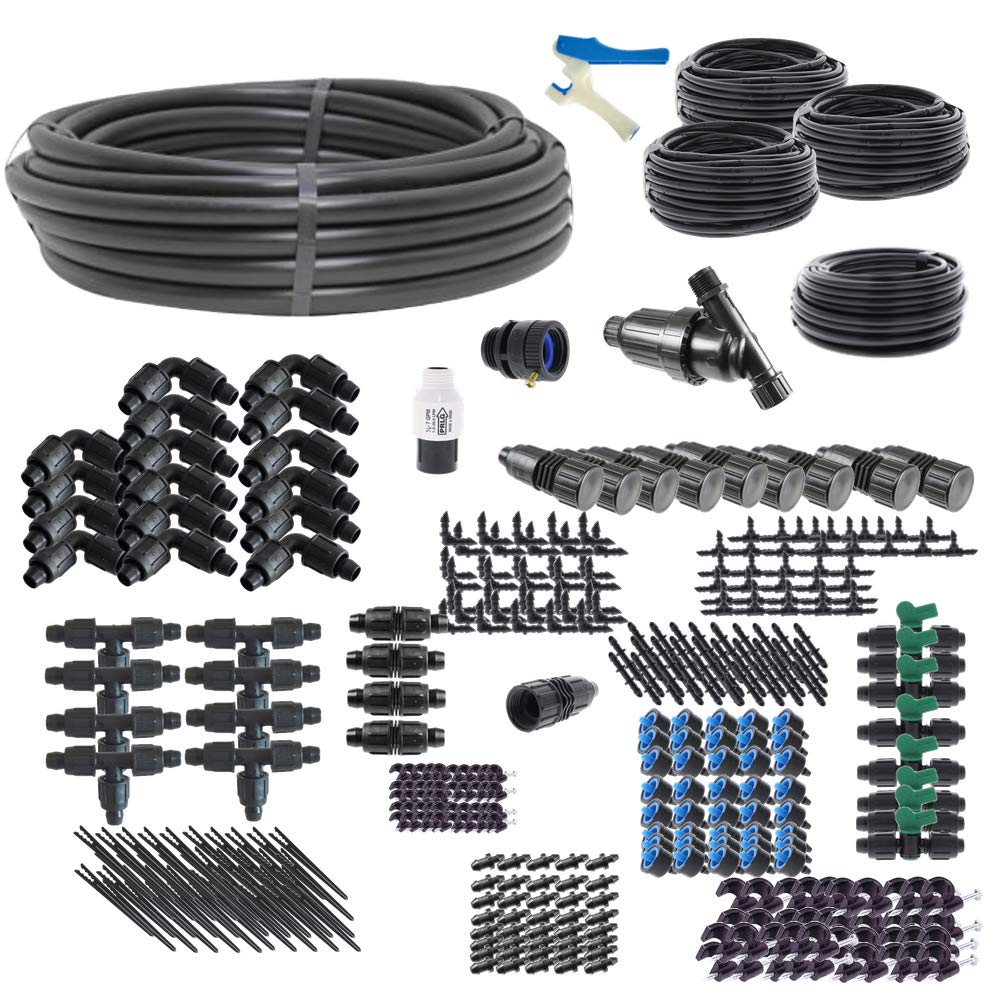
You just bought a multi-zone drip kit — the kind with 100 feet of half-inch mainline tubing, a bag of emitters, a pressure regulator, and a filter — and now you’re staring at your backyard wondering whether all of it will actually work together. That’s the right question to ask before you dig a single staple into the ground. Drip irrigation is a system of small, low-volume water emitters (the little devices that let water trickle out slowly at the root zone, instead of spraying everywhere) connected by flexible plastic tubing. It’s one of the most efficient ways to water a garden, but efficiency only kicks in when the system is sized correctly for your water supply. Size it wrong and you get dry plants at the end of a zone, pressure damage to your emitters, or a controller that runs faithfully while nothing gets watered. This guide gives you the hydraulic math — the numbers behind flow rate, pressure loss, and emitter count — so you can make a confident spec decision before the purchase, not after the install.
The Two Numbers Your Water Supply Gives You
Before you think about kits, zones, or emitter counts, you need to know what your house is actually delivering to the hose bib or irrigation valve where the system starts. Two numbers define this: static pressure and flow rate.
Static pressure is the water pressure when nothing is running — measured in PSI (pounds per square inch). You can read it with a simple pressure gauge threaded onto a hose bib; they run $10–$15 at any hardware store. Most residential supplies come in between 40 and 80 PSI. Per Rain Bird’s Drip Irrigation Design Guidelines, a healthy drip system operates best in the 15–30 PSI range at the emitter head — which means your incoming pressure almost always needs to be stepped down with a pressure regulator before it reaches the tubing.
Flow rate is how many gallons per minute (GPM) your supply can deliver. To test it, put a five-gallon bucket under a fully open hose bib and time how long it takes to fill. Divide 5 by the number of minutes. Most residential hose bibs deliver between 4 and 8 GPM, though older homes or long supply runs may fall to 2–3 GPM. This ceiling is the single most important constraint on your system design — every emitter, every zone, every lateral line has to stay inside it.
By the Numbers: Typical Residential Supply vs. System Demand
| Scenario | Supply Flow | Emitters @ 1 GPH | Emitters @ 2 GPH |
|---|---|---|---|
| Modest hose bib | 3 GPM (180 GPH) | 180 max per zone | 90 max per zone |
| Standard hose bib | 5 GPM (300 GPH) | 300 max per zone | 150 max per zone |
| Dedicated irrigation valve | 8 GPM (480 GPH) | 480 max per zone | 240 max per zone |
The rule: total emitter output in any one zone must stay under 75% of your available supply flow to maintain stable pressure. Running a zone at 100% of your flow capacity leaves no headroom for pressure loss in the tubing itself — and there will always be pressure loss in the tubing.
Pressure Loss: Where PSI Goes to Die
This is the part most kit instructions gloss over. Every foot of tubing, every fitting, every elevation change, and every filter in the system costs you pressure. The Irrigation Association’s Drip/Micro Irrigation Design Manual calls this friction loss — the pressure consumed by water moving through pipe. If you start with 25 PSI at the regulator and lose 12 PSI by the time water reaches your last emitter, that emitter is running at 13 PSI. Depending on the emitter type, that may still work — or it may deliver a third less water than labeled.
The key variables:
Tubing diameter and length. Half-inch polyethylene mainline (the black supply tubing in most kits) loses roughly 1 PSI per 100 feet at 4 GPM — a manageable loss. Quarter-inch microtubing (the thinner “spaghetti” lines that branch off to individual emitters) is dramatically more restrictive. Hunter Industries’ Micro Irrigation Engineering Data guide puts friction loss in 1/4” tubing at 5–8 PSI per 100 feet at even modest flow rates. This is why quarter-inch runs should stay under 18–24 inches wherever possible. Long quarter-inch runs are one of the most common causes of underperforming drip systems.
Elevation change. Water running uphill costs you pressure at a rate of roughly 0.43 PSI per foot of rise. A raised bed 4 feet above your mainline costs you about 1.7 PSI before a drop of water exits an emitter. Downhill runs give pressure back — but that’s a place where you can actually over-pressure lower-elevation emitters, which is a useful reminder that sloped sites need zone planning, not just horizontal length math.
Filters and pressure regulators. A standard inline filter adds 2–5 PSI of loss when clean, and up to 10+ PSI when clogged. Per UC ANR Publication 8009, flushing or replacing filters once per season is the single highest-ROI maintenance task in a drip system. Your pressure regulator also consumes pressure by design — a regulator set to 25 PSI will absorb whatever incoming pressure exceeds 25 PSI, which means you must start the design calculation from the regulator’s output, not your hose bib’s static pressure.
Practical design floor: after accounting for tubing friction, elevation, filter loss, and the pressure regulator, most residential drip systems should target a working pressure of 15–25 PSI at the emitter. Rain Bird’s technical documentation rates most standard pressure-compensating emitters to operate accurately from 7 to 50 PSI, with the sweet spot between 15 and 30 PSI. Non-compensating emitters are much more sensitive — flow rate changes meaningfully across the pressure range, which means mixed-output zones produce inconsistent results.
Emitter Count: The Math That Ties It Together
Once you know your available flow and have estimated your pressure losses, sizing the emitter count per zone is arithmetic.
Step 1: Set your zone flow budget. Take your tested supply flow in GPH (gallons per hour) and multiply by 0.75 to get your safe zone ceiling. Example: 5 GPM supply = 300 GPH. Multiply by 0.75 = 225 GPH maximum per zone.
Step 2: Pick your emitter output rating. Most kits include emitters rated at 0.5, 1, or 2 GPH. Match emitter output to plant type: shrubs and established perennials typically use 1 GPH emitters; trees and large specimens may warrant 2 GPH; seedlings and small annuals work well with 0.5 GPH.
Step 3: Divide zone budget by emitter output. 225 GPH zone budget ÷ 1 GPH per emitter = 225 emitters maximum per zone. In practice, design to 80% of that maximum (180 emitters) to give yourself room for adding plants or extending laterals later.
Step 4: Count your plants and check. If a zone serves 45 tomato plants with two emitters each, that’s 90 emitters × 1 GPH = 90 GPH — well inside a 225 GPH zone budget, and a clean design. If you’re running 150 shrubs with two 2-GPH emitters each, that’s 600 GPH — well over the budget and a system that will fail at pressure, distribution uniformity, or both.
Multi-Zone Planning and Manifold Sizing
If your layout requires more emitters than one zone can support, the answer is not a bigger supply line — it’s additional zones run sequentially. A smart controller (more on this below) or a mechanical multi-zone timer sequences zones so only one runs at a time, keeping total instantaneous demand within your supply’s capacity.
When specifying a manifold (the valve block that splits one supply into multiple zones), match the manifold’s rated flow per valve to your zone demand. Hunter Industries’ engineering guide recommends sizing manifold valves to no more than 80% of their rated capacity at operating pressure to maintain valve longevity. A valve rated for 5 GPM running at 4 GPM is appropriately sized; the same valve running at 6 GPM is a warranty conversation in the making.
For buyers investing in $300–$600 multi-zone drip layouts — the kind that pair a smart controller with app-based zone scheduling — this manifold math becomes part of the spec conversation with the controller. Controllers from brands like Rachio and Rain Bird document their valve compatibility by GPM rating, and pairing a controller with undersized valves is one of the few ways a well-designed controller can still fail a well-designed system.
Kit Selection: Matching the Box to the Math
Most entry-level drip kits (the $40–$90 range) are designed for a single zone of 50–100 emitters. They’re honest products for a single raised bed, a small herb garden, or a strip of foundation plantings. The hydraulic math almost never causes problems at this scale because demand stays well inside residential supply limits.
The mismatch happens at expansion. Owners of the Raindrip Automatic Watering Kit (a well-reviewed entry kit) and similar products consistently report across aggregated reviews that the included half-inch tubing and connectors work well for one zone — but that when users daisy-chain multiple kits to cover a larger area, pressure at the far end of the line drops noticeably. This is the friction loss math playing out in real backyards. The solution is a dedicated manifold and properly spec’d zone lengths, not more tubing off the same source.
For practitioner-tier installs — the kind serving a multi-bed kitchen garden, a perennial border running 200+ feet, or a client’s property with mixed zones of annuals and established shrubs — the right spec process goes: measure supply → calculate zone budgets → count emitters per zone → size manifold valves → then select kit components. Buying a boxed kit and reverse-engineering it into a larger system is the path to the Saturday afternoon call where nothing’s working and you’re not sure where to start troubleshooting.
The Decision Rule
If your zone emitter demand stays under 75% of your supply flow and your longest quarter-inch run stays under 24 inches, a standard drip kit will perform as rated. Step up to manifold-based multi-zone design when any single zone exceeds that threshold, when your site has more than 3 feet of elevation change, or when you’re managing distinct plant communities with different output requirements in the same footprint. Use pressure-compensating emitters any time your mainline runs longer than 150 feet or your site has meaningful slope — the small per-unit cost premium is irrelevant next to the cost of a season of inconsistent watering. And always test your supply flow before you buy: it takes five minutes and a bucket, and it’s the one number that determines whether everything else in this guide is relevant to your specific install.
Per This Old House’s drip irrigation installation overview, the most common installation error is skipping this supply test — not miscounting emitters, not misrouting tubing, but simply not knowing the starting number. Now you have no excuse.